Company Access
This is where you have access to invite members, manage roles, and grant/revoke access roles to members.
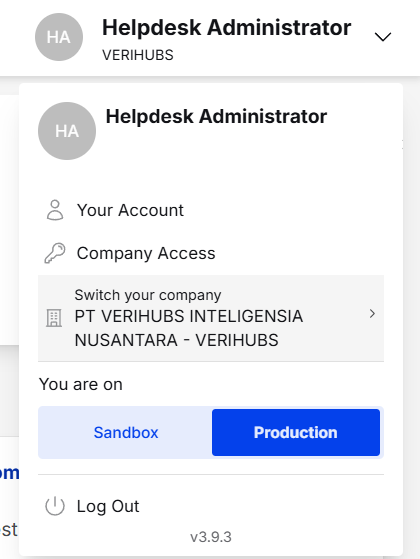
You can access this Company Access feature by clicking the button next to your name in the right top header of the Dashboard.
In the Company Access menu, there are two tabs, "Members" and "Role".
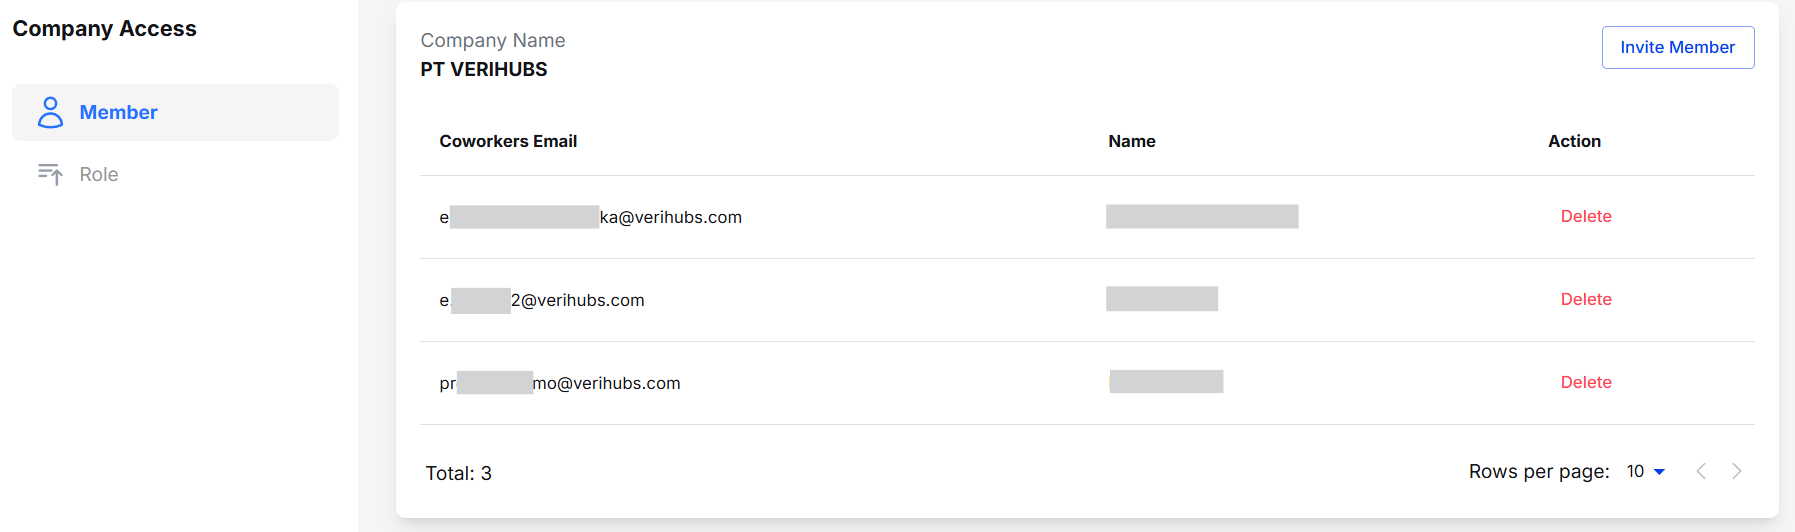
Company Access Page
User Management
User Management allows you to invite or remove member from your Company. In this way, you can invite your team or remove them when they are no longer associated to your Company.
- Invite Member
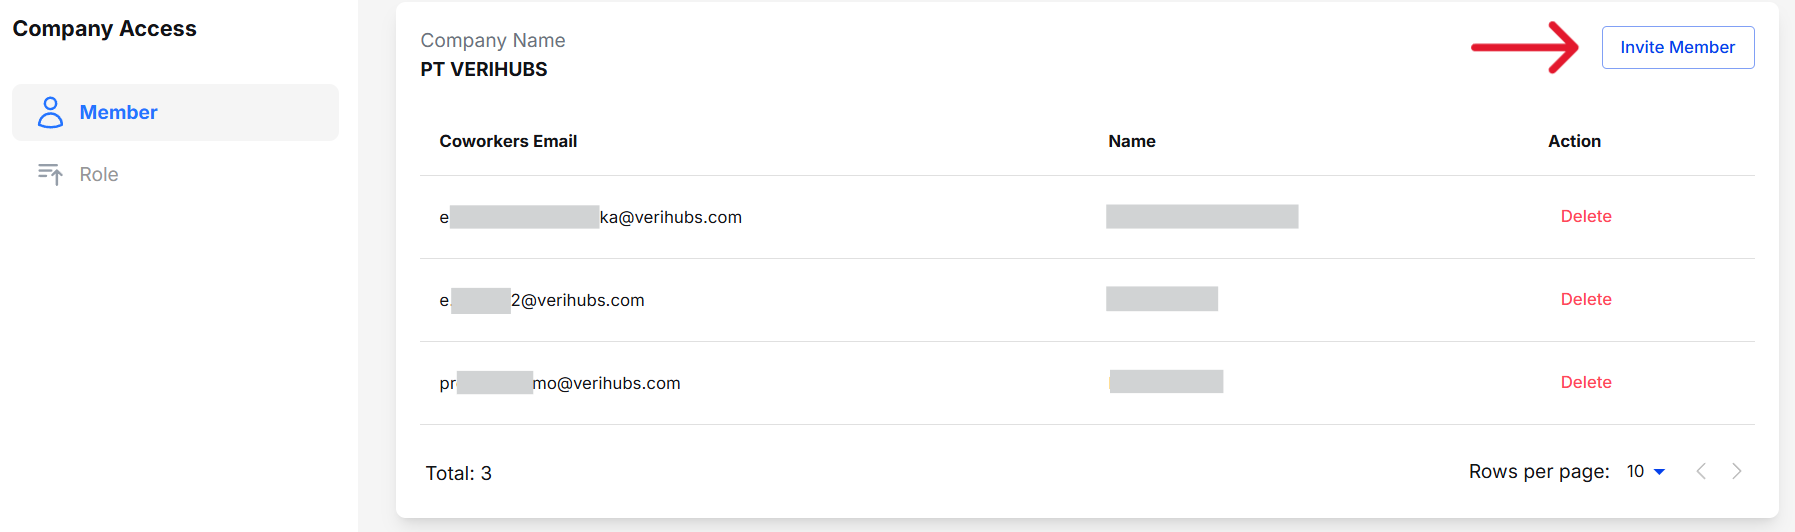
On the member tab, you can invite other users as members of your company by clicking 'Invite Member' button in the top right side.
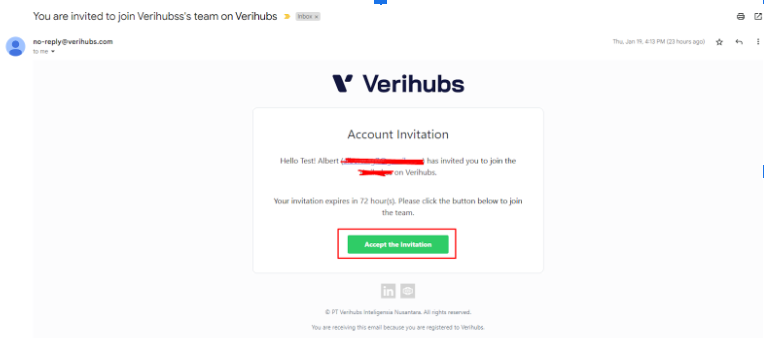
After clicking 'Invite Member' button, user can fill the email that want to be invited to the company. Note that you can only invite users that have registered to Verihubs’ dashboard. Once the email filled, click 'Invite Now'.
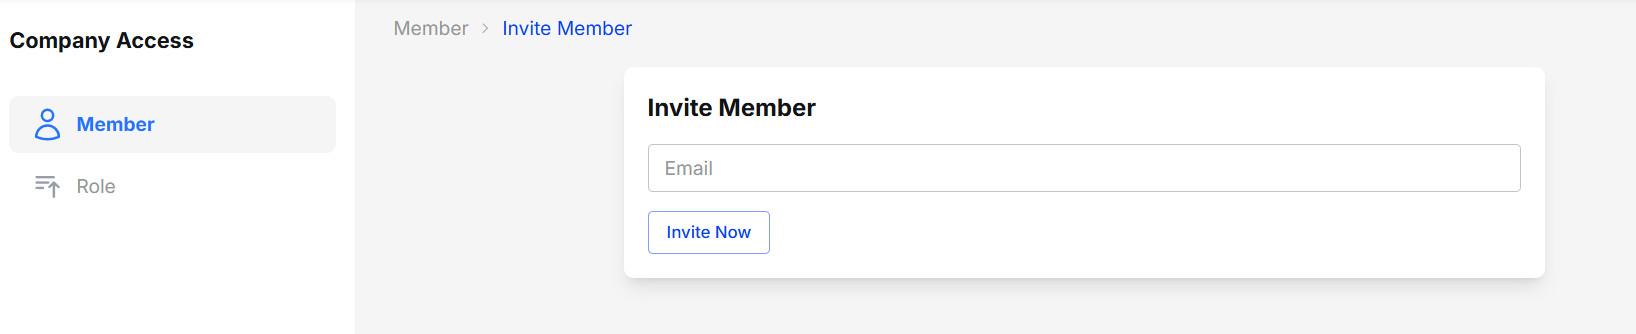
Invite Member Page
The invitation email will be sent to the invited email, so the user that is invited, must check their email to accept the invitation.
After the invitation accepted, the invited user will be successfully joined the company. The invited user will be listed on the member list at member tab. However, they will not be able to access anything until they are assigned to a role (see section Role Management below).
- Remove Member
On the member list, you can delete the member from the company by clicking “Delete” button on the right side of their email and name
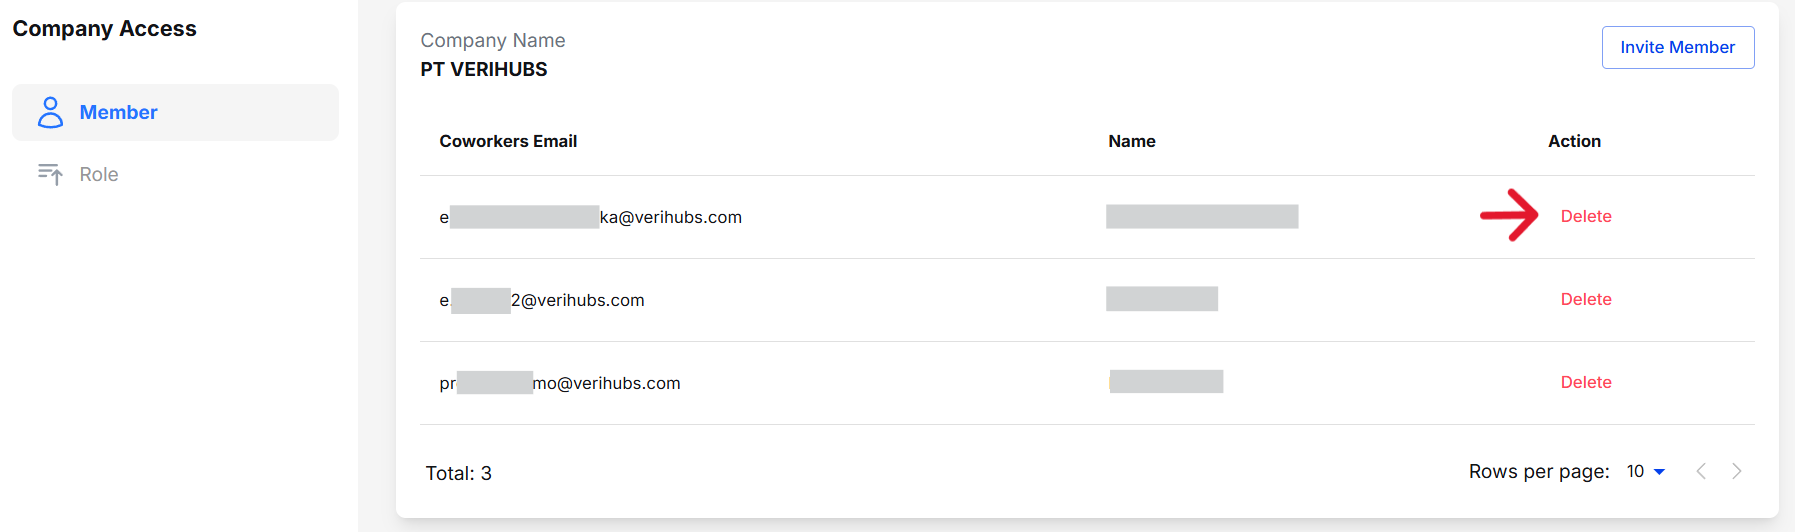
When you click on the Delete button, you will be prompted for a confirmation. You can double check the member to be removed. When you give a confirmation, the member will be successfully removed from your company, which means they will no longer have access to anything in the Verihubs' Dashboard.
Role Management
Role Management let you create / update / remove roles and map the specific access according to the roles create. Note that the first user assigned to your company will have the default "Super Admin" role. You can also invite other members to have the Super Admin role.
Role will represent the access you grant to users (members) added to that role.
Only role that have access to "Company Access" can access and manage both User Management and Role Management.
Attention: please do not delete the Super Admin roles for convenience.
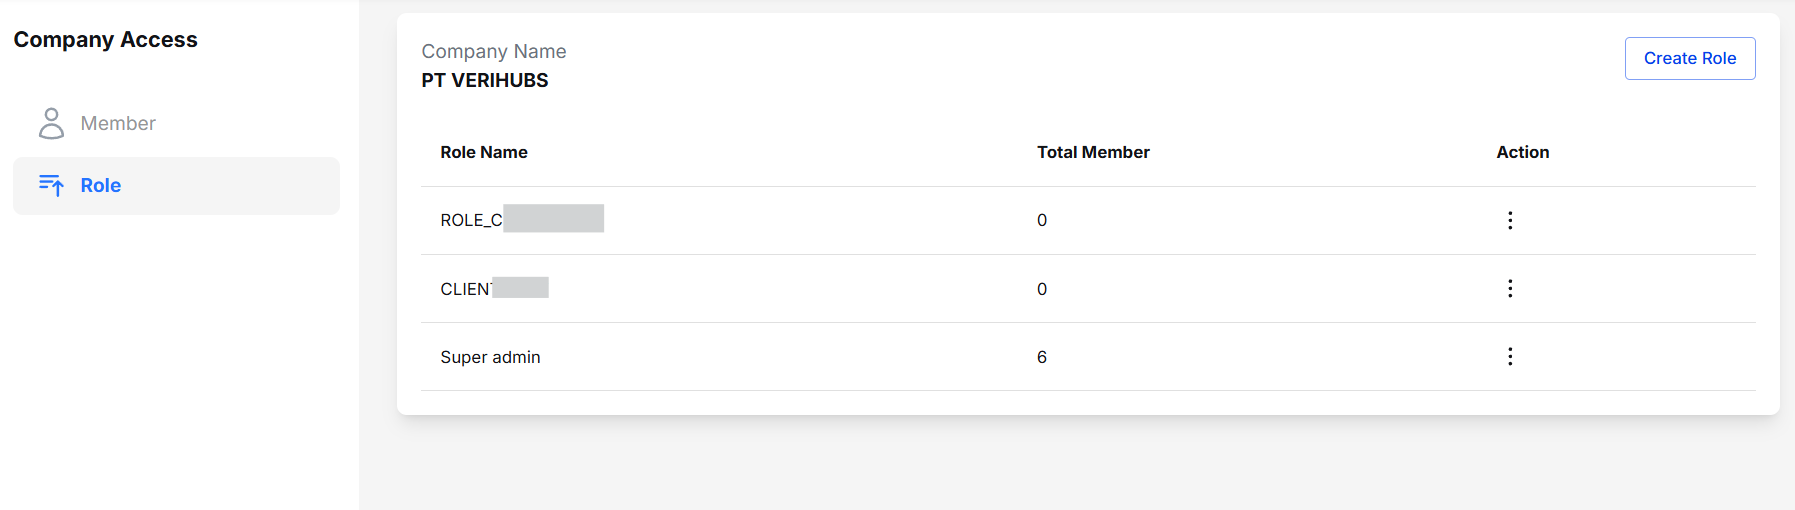
You can click on the tab "Role" to access Role Management.
You can create a new role by filling the role name field (role name must be unique) and click “Create Now” button. The new role that you created will show up on role list. On each role, there will be 2 action button, “Edit” and “Delete”. “Edit” button allows you to manage access and manage the member for that role, while "Delete" button allows you to delete the role.
Role Page
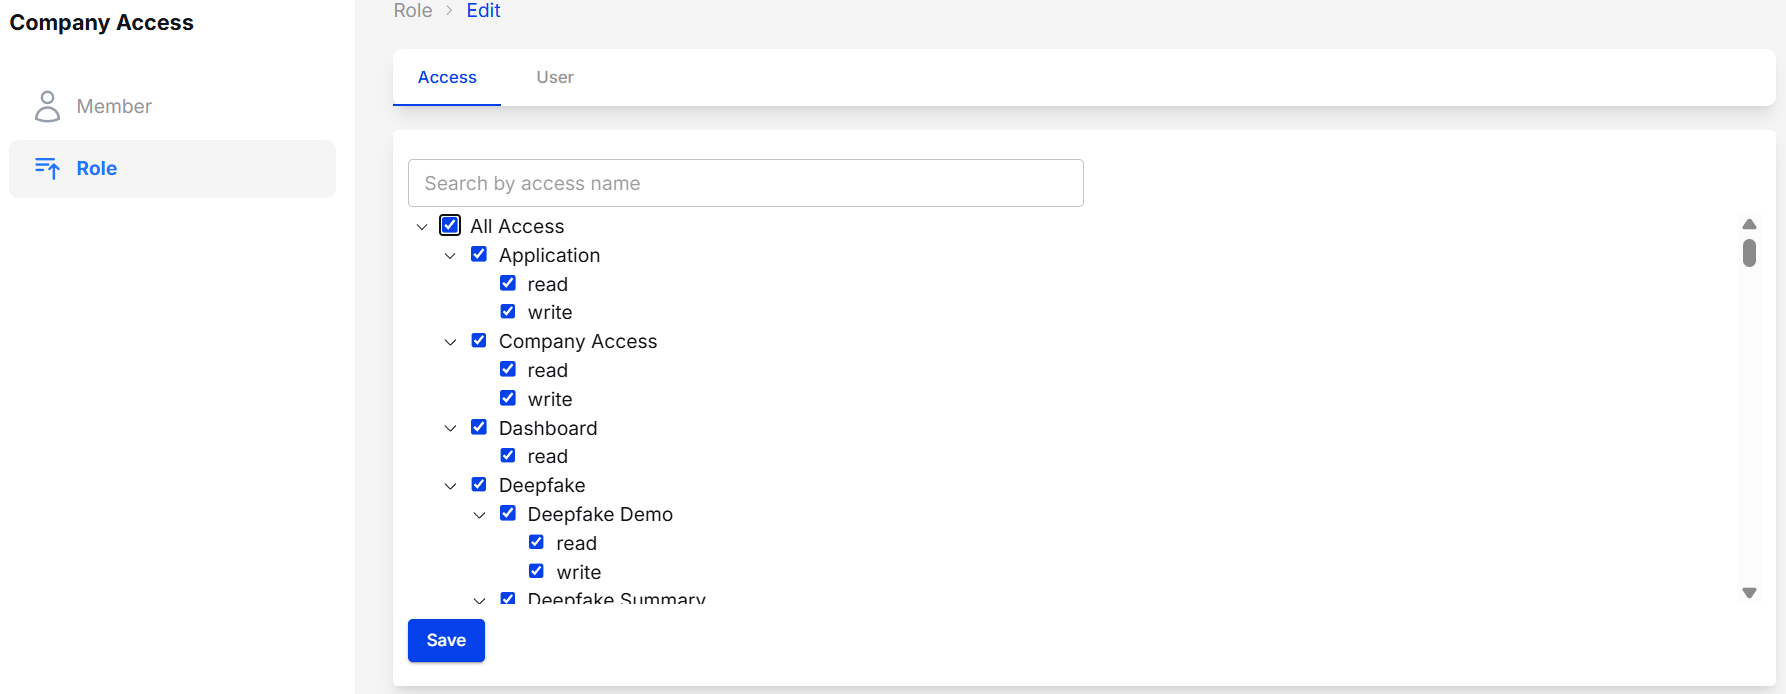
When you click "Edit" button, the system will show you two tabs of "Access" and "User".
Role Access Page
In the access tab, you will see lists of access that company have, and can assign the access to the respected role (you can assign all access or just select some of them to the role)
There will be two types of access: "read" and "write".
- Read means the user assigned to the role will have access to view the menu details
- Write means the user assigned to the role will have access to create / edit / delete the data in the menu details, for example: create application_id, delete application_id
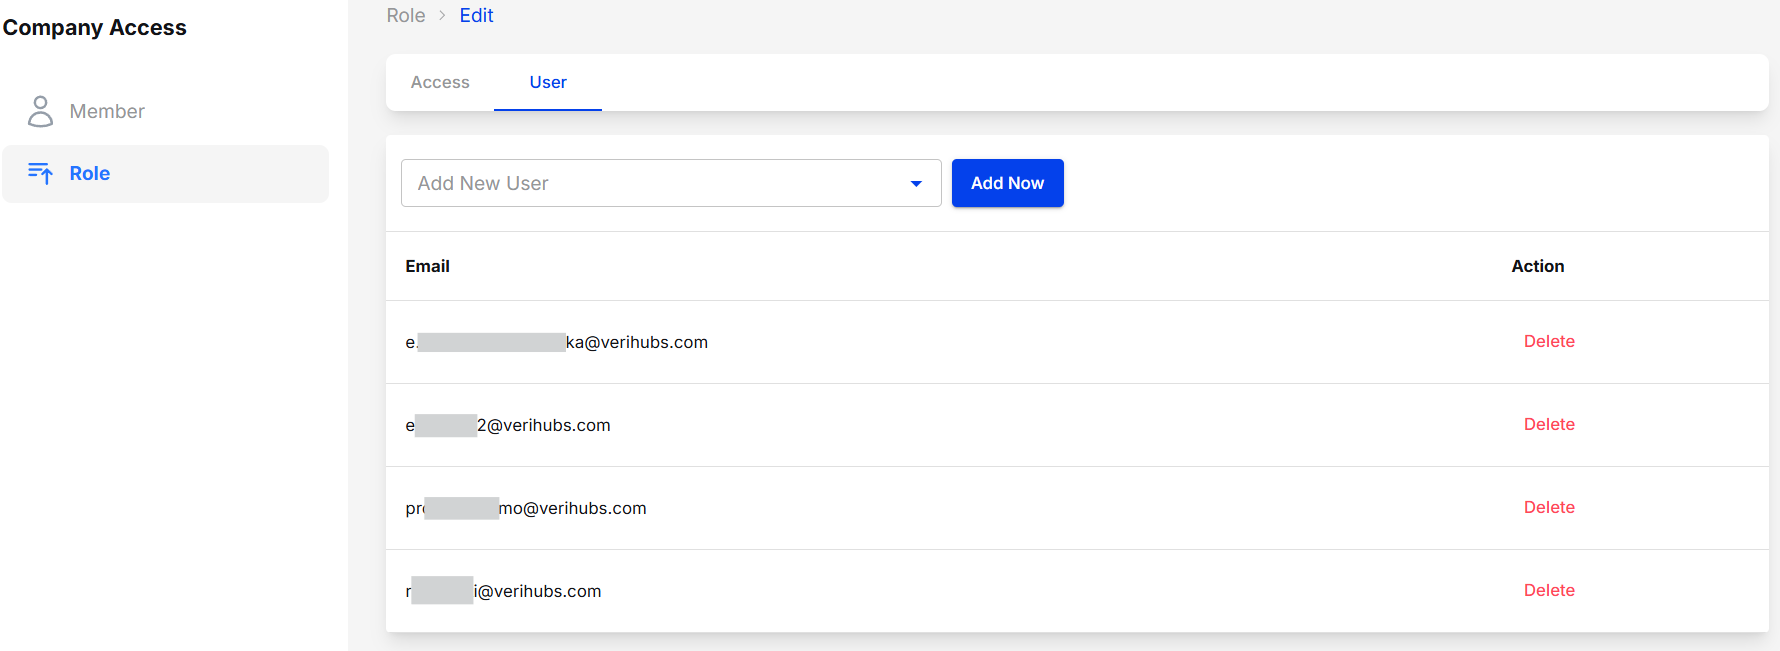
In the user tab, you can add member to the role by select their email and click “Add Now” button.
Notes*:for every changes, the assigned user for the role must log out and re log in to have access.*
You can also remove / delete member from this role by clicking “Delete” button.
When a member is assigned to some role and the access have been assigned to the role, the member can only access the service / feature in accordance with the role access.
Updated 11 months ago