WhatsApp Settings
Setting
After your template has been approved by Facebook, you can use the template by setting it up in WhatsApp OTP Summary or WhatsApp Message Summary in Setting.
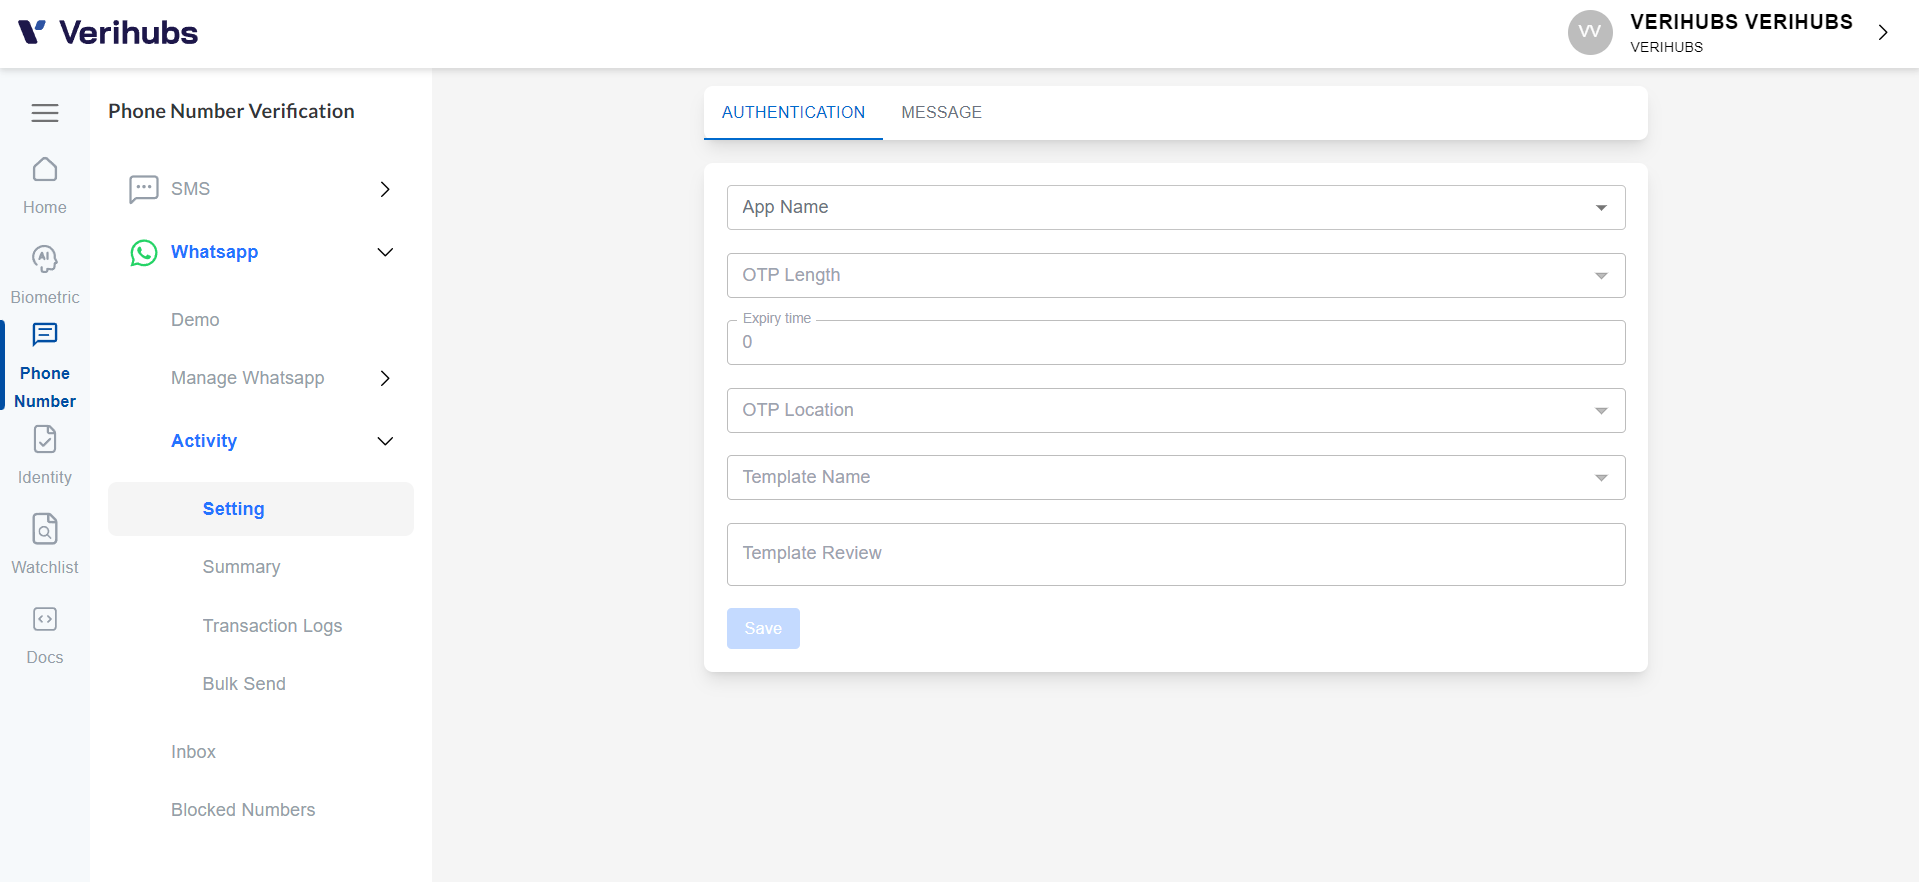
For WhatsApp OTP Template, you must choose and input the details below:
- OTP length
- Template name
- OTP location
- Input Expiry time (seconds)
You can see it in the example and then click the Save button.
When submitting your Template Message, you should keep the following things in mind:
- For OTP usage, Your template should include at least one parameter “{{x}}”
- Your template should not contain any spelling mistakes
- Your template should be formatted correctly & including parameters
- Your template should have a clear title name, for example instead of using a name like "template_014," use "bus_ticket_details"
- Your template cannot be edited once it has been submitted
- Your template cannot contain any shortened URLs (like bit.ly)
- Your 'body' section should be within the 1024 character limit
Setting Up the Application ID Authentication
Within this part, you will learn to setup a new Application ID:
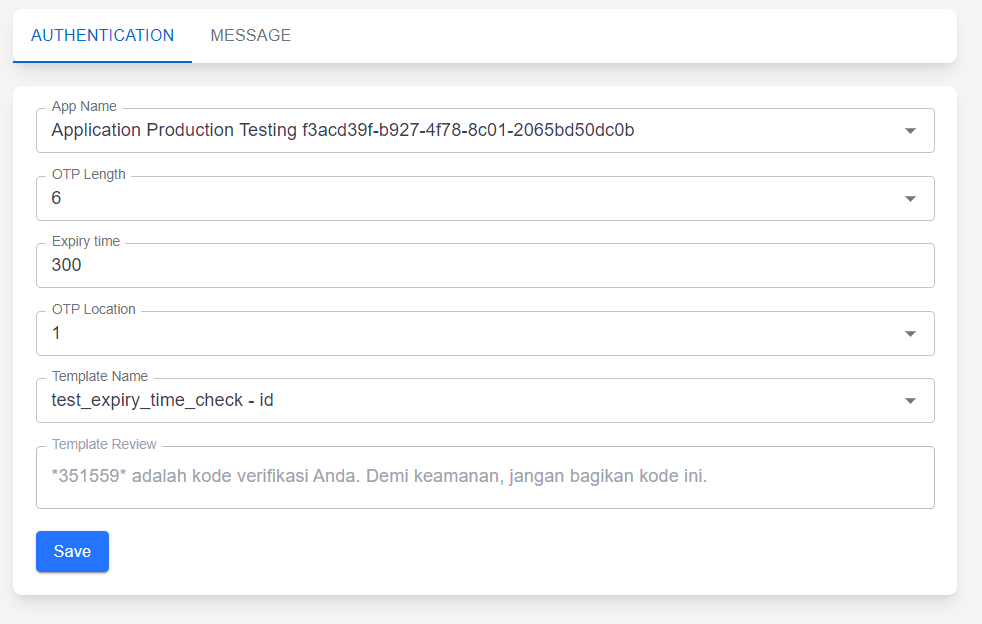
- Head to the WhatsApp Summary by scrolling the Verihubs Dashboard's sidebar and clicking the 'Summary' under the WhatsApp section.
- Within the page, you will be able to see the Setting section.
- Firstly, you need to select the Application ID that you want to configure by selecting through the 'Application Name' field.
- After you chosen the Application ID, you can proceed to configure:
- OTP Length
- Expiry Time ( 1 - 600 seconds )
- Template Name
- OTP Location
- Once you're done, you can click the 'Save' Button. And you're good to go! Hooray!
Setting Up the Application ID Message
Within this part, you will learn to setup a new Application ID:
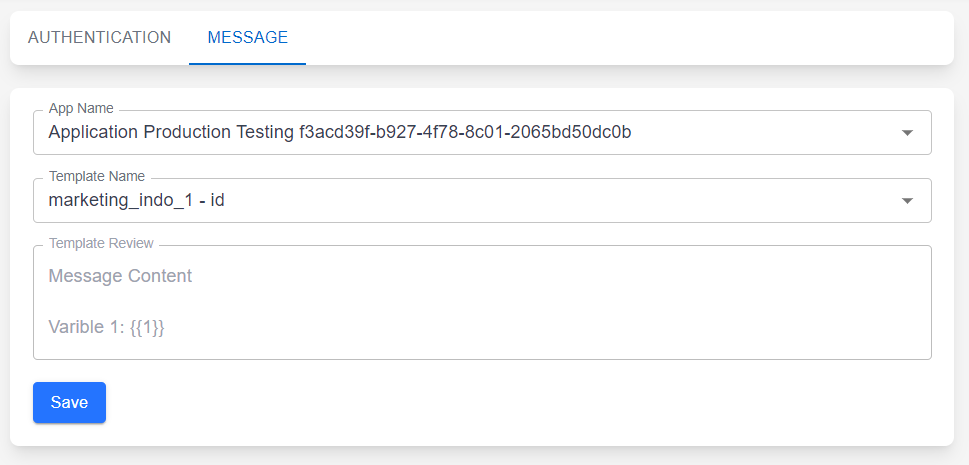
- Head to the WhatsApp Summary by scrolling the Verihubs Dashboard's sidebar and clicking the 'Summary' under the WhatsApp section.
- Within the page, you will be able to see the Setting section.
- Firstly, you need to select the Application ID that you want to configure by selecting through the 'Application Name' field.
- After you have chosen the Application ID, you can proceed to configure the
Template Name - Once you're done, you can click the 'Save' Button. And you're good to go! Hooray!
Updated 10 months ago
Did this page help you?