Utility Template
Guidelines for Create Template Category Utility
Here are the steps to create a Utility Category Template:
- In Step 1, you can select and enter data in the input text as follows:
- Select a Business Account: Select the available WABA
- Category: Marketing
| Sub-Category | Description |
|---|---|
| Default | Send messages with custom media and buttons to interact with your customers |
| Flow (On Going) | Send a form to find out customer interest, request an appointment, or run a survey |
| WABA Call (On Going) | Ask customers if you can call them on WhatsApp |
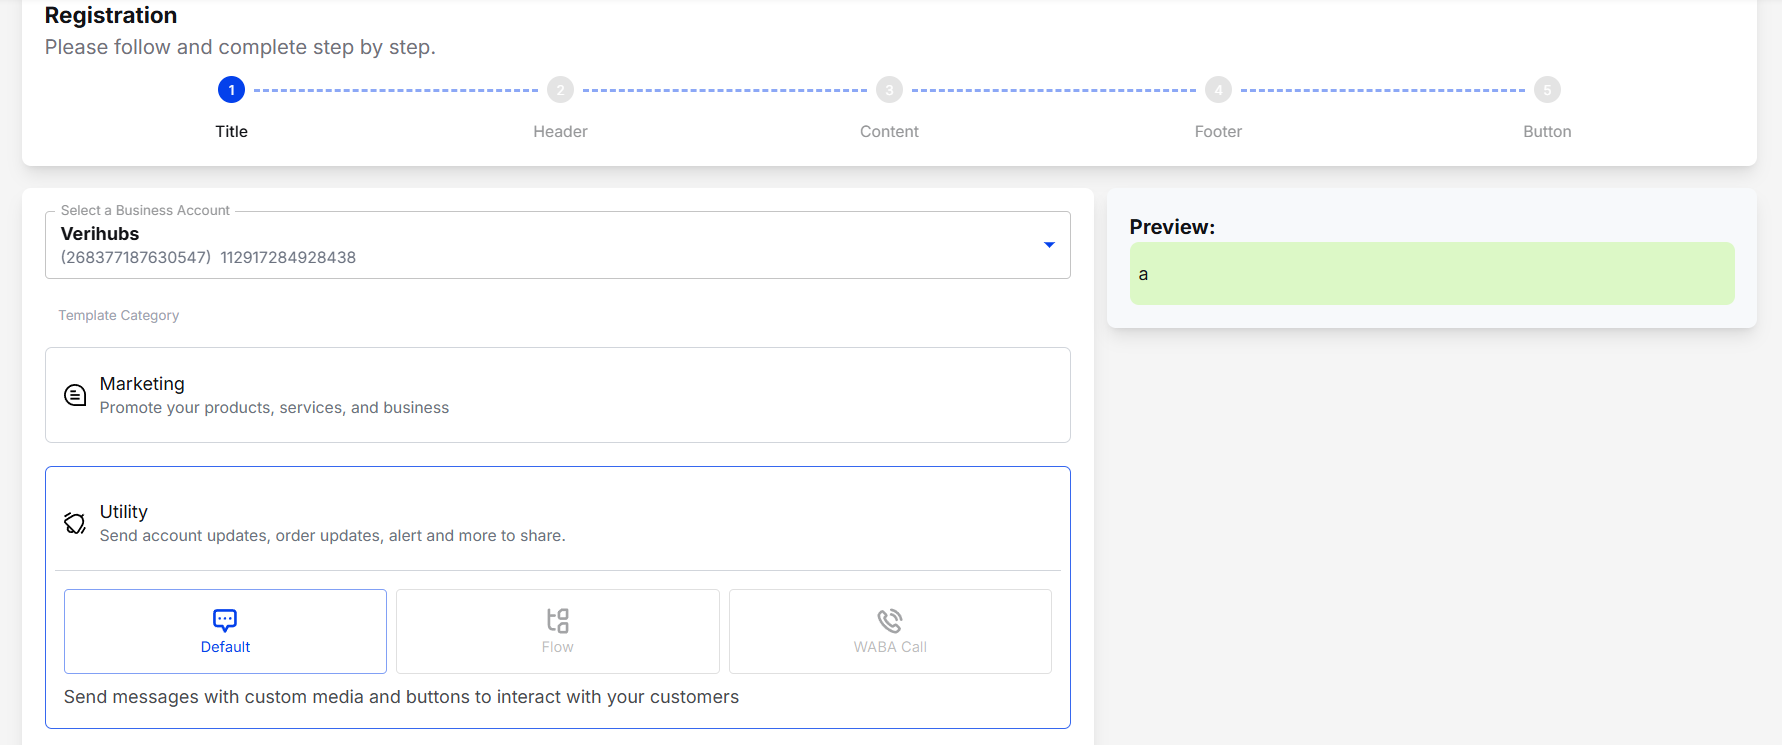
Template Utility: Sub-Category
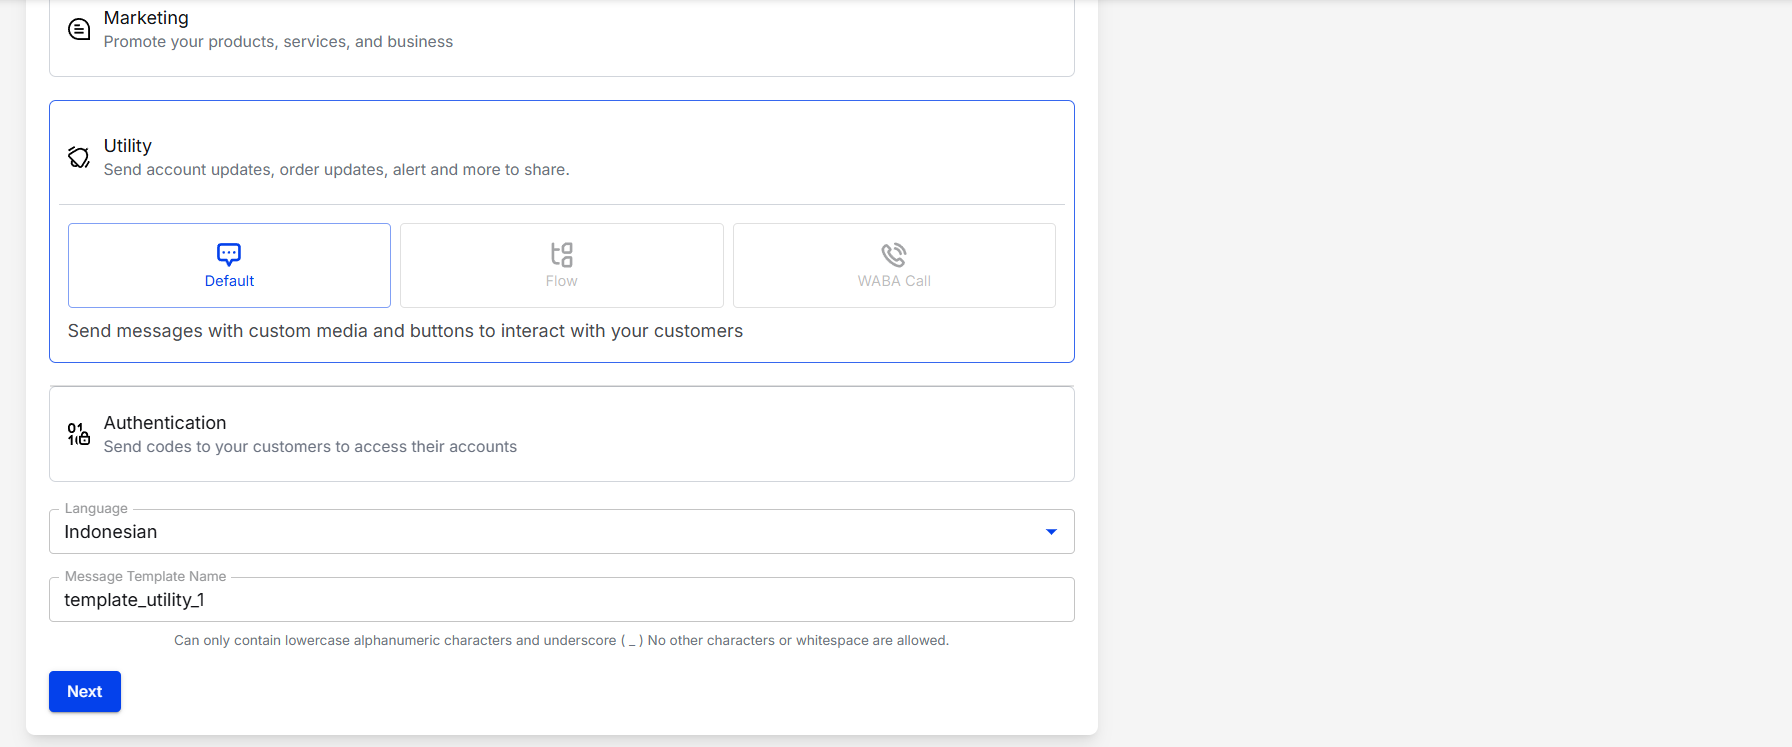
- Language: Select the language you want to use to create the Marketing Template
- Message Template Name: Input the name of the template to be created. The template name can only contain lowercase alphanumeric characters and underscore (_) No other characters or whitespace are allowed.
- If everything is according to your wishes, you can click the Next button
Template Utility
- In Step 2, you can choose the Header Type you want for your Template:
| Header Type | Description |
|---|---|
| None | Template has no Header |
| Text | Template has Header Text If you choose this, you must fill in:
|
| Image | Template has Header Image If you choose this, you must fill in:
|
| Document | Template has Header Document If you choose this, you must fill in:
|
| Video | Template has Header Video If you choose this, you must fill in:
|
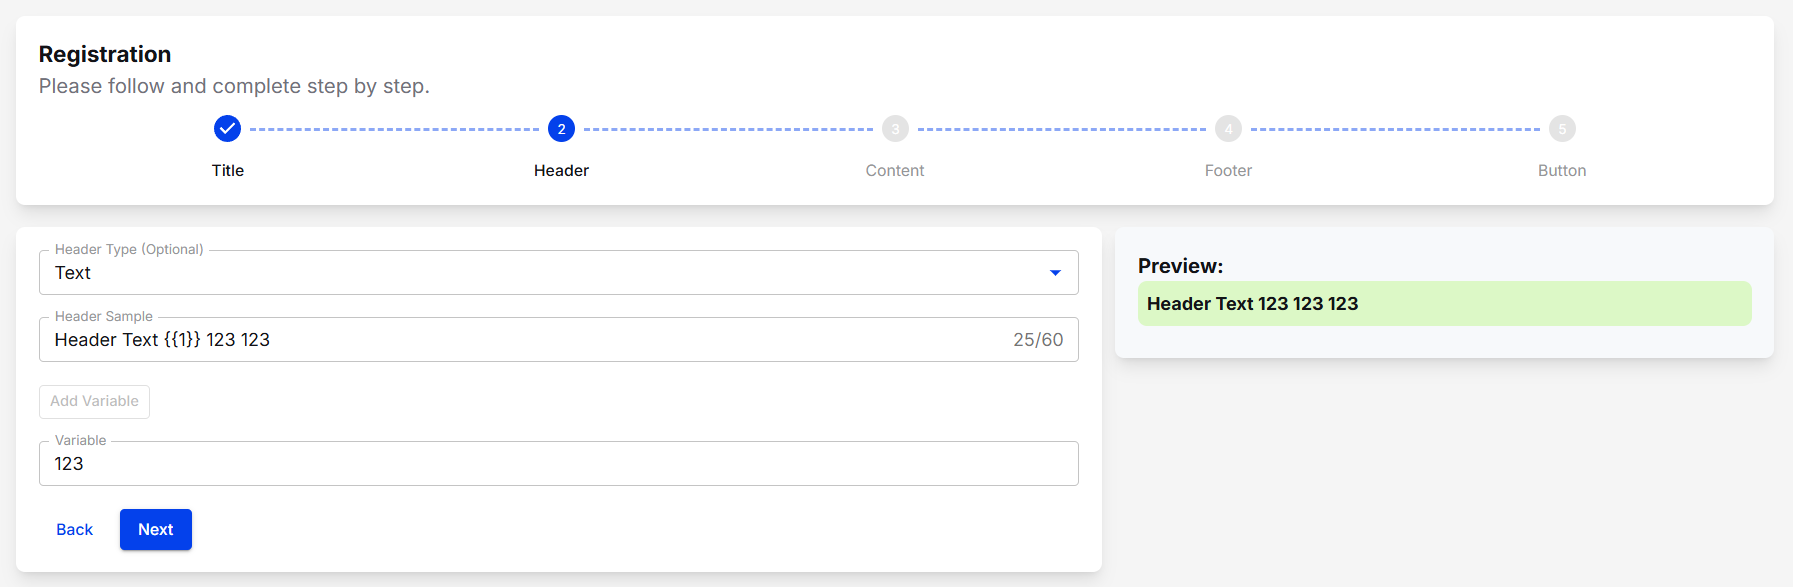
Header Type: Text
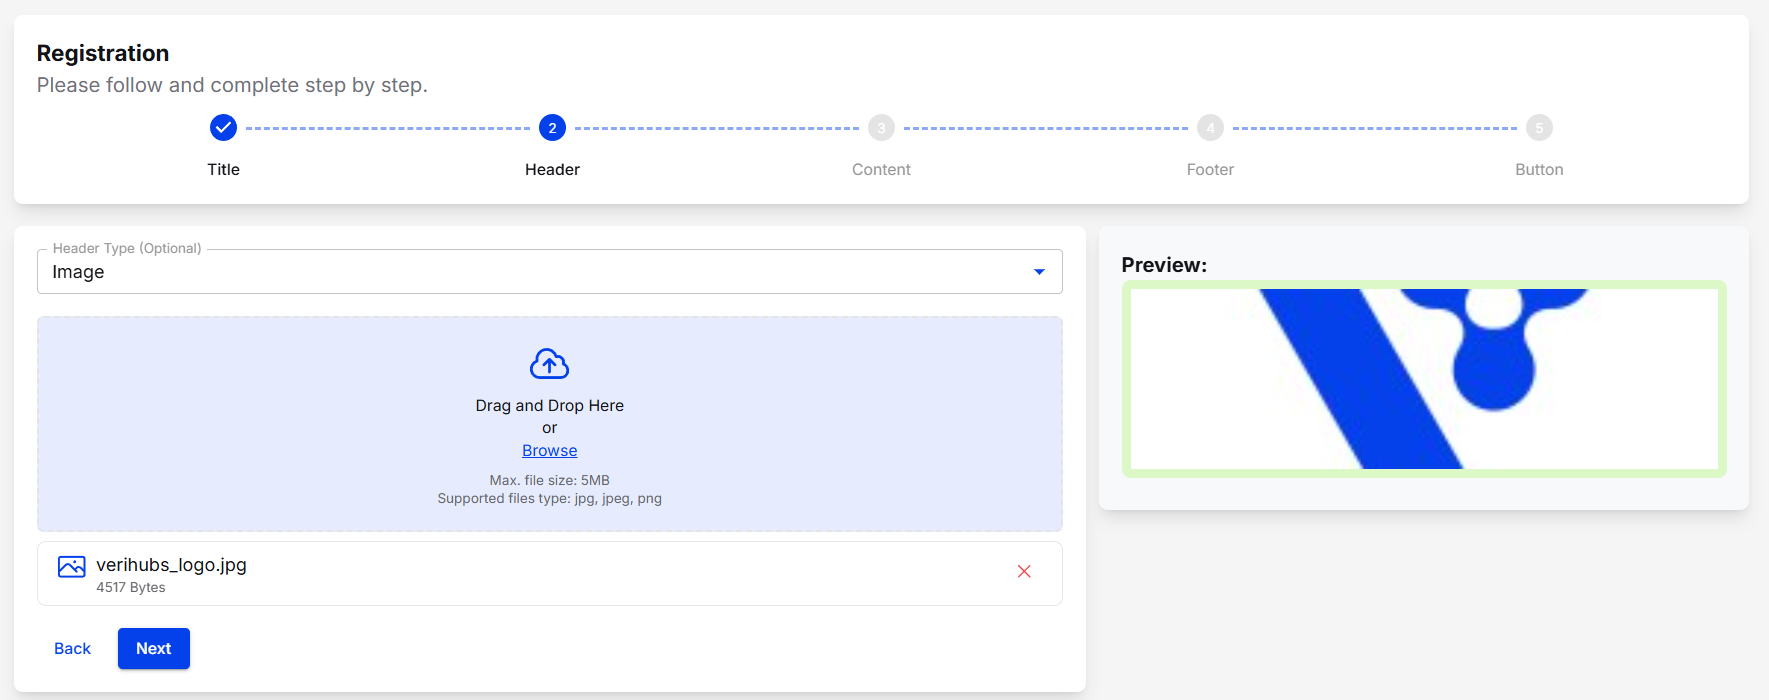
Header Type: Image

Header Type: Document
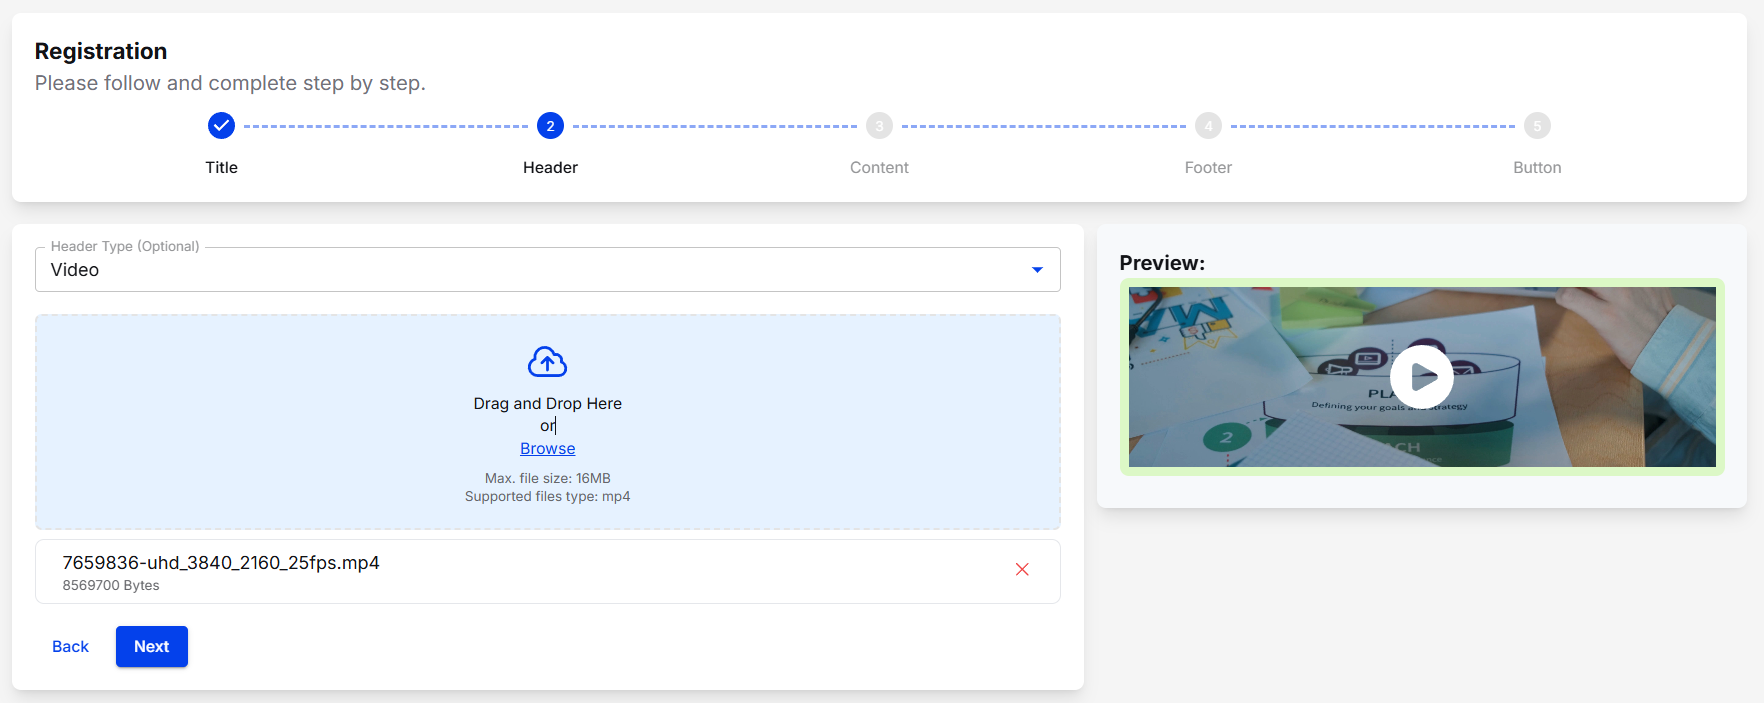
Header Type: Video
After you select the Header Type, you can click the Next button.
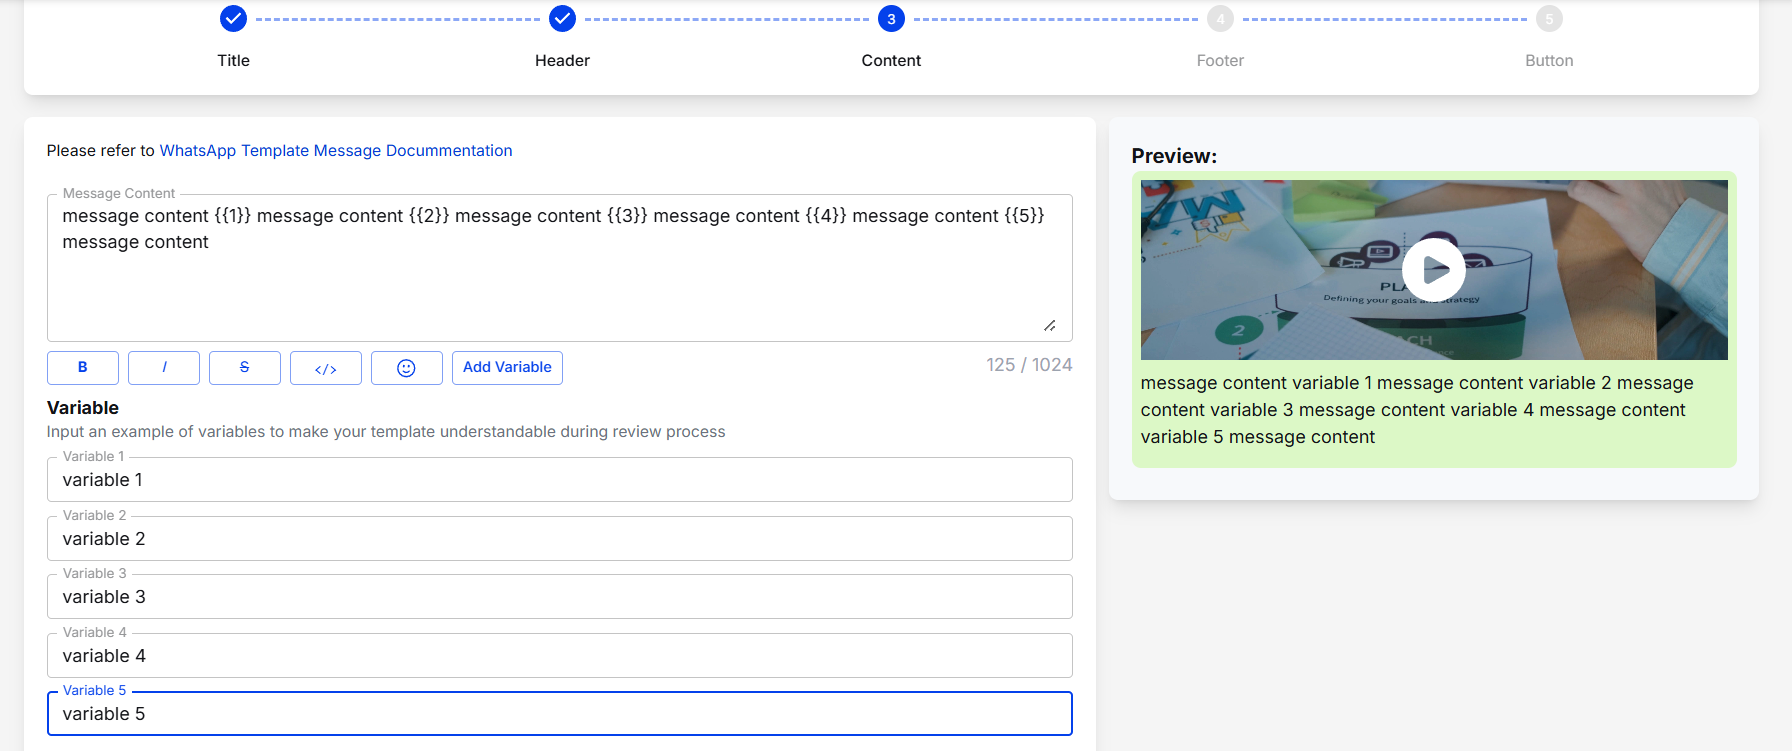
- In Step 3, you can enter what kind of Message Content you want to display to the User.
- Message Content: Content that will be displayed to the User with a maximum of 1024 characters
- Variable: Dynamic variables that you can customize the input when sending a Marketing Message
Content
After you enter the Message Content, you can click the Next button.
- In Step 4 also, you can enter the Footer that you want to display in your Message Template.
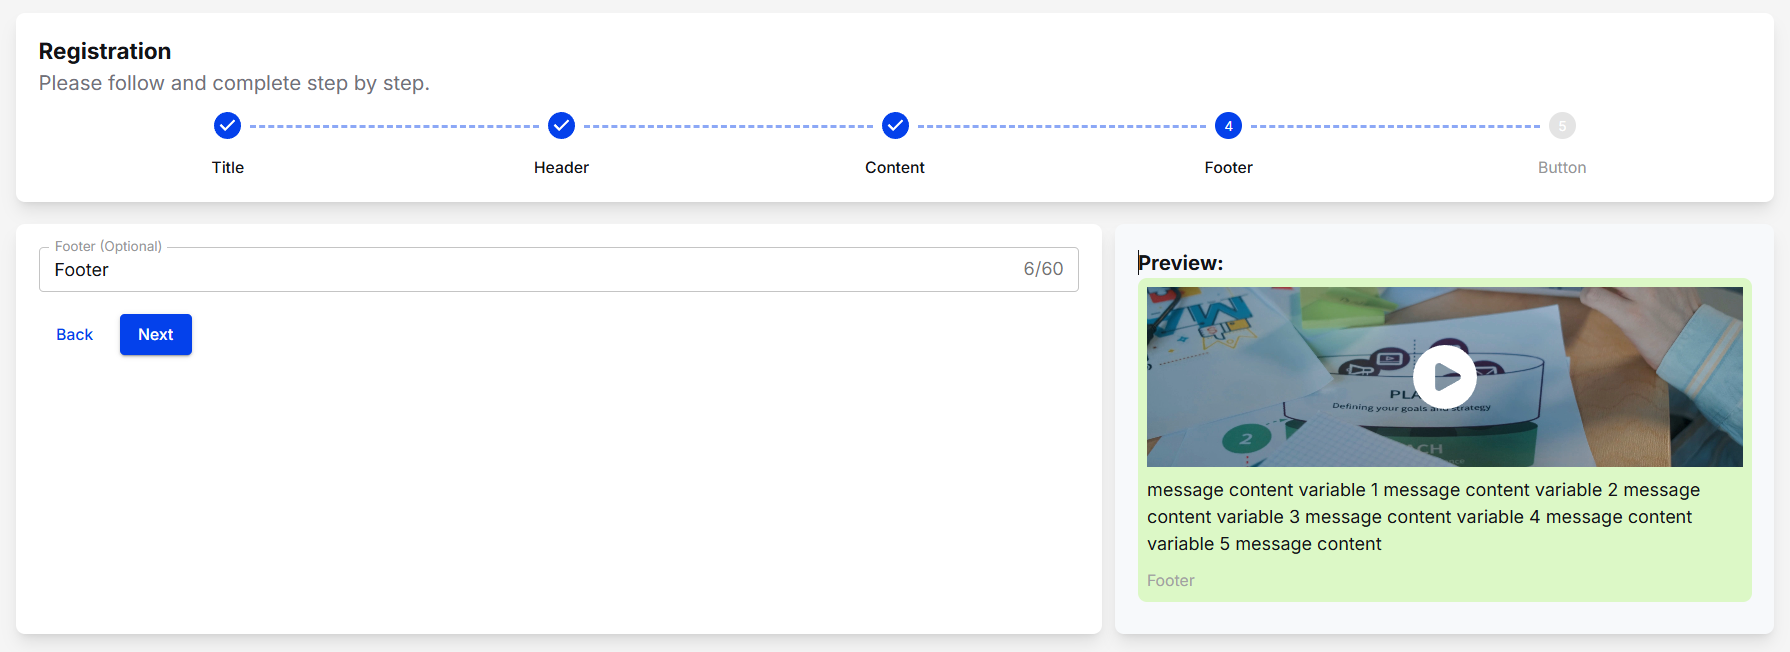
Footer
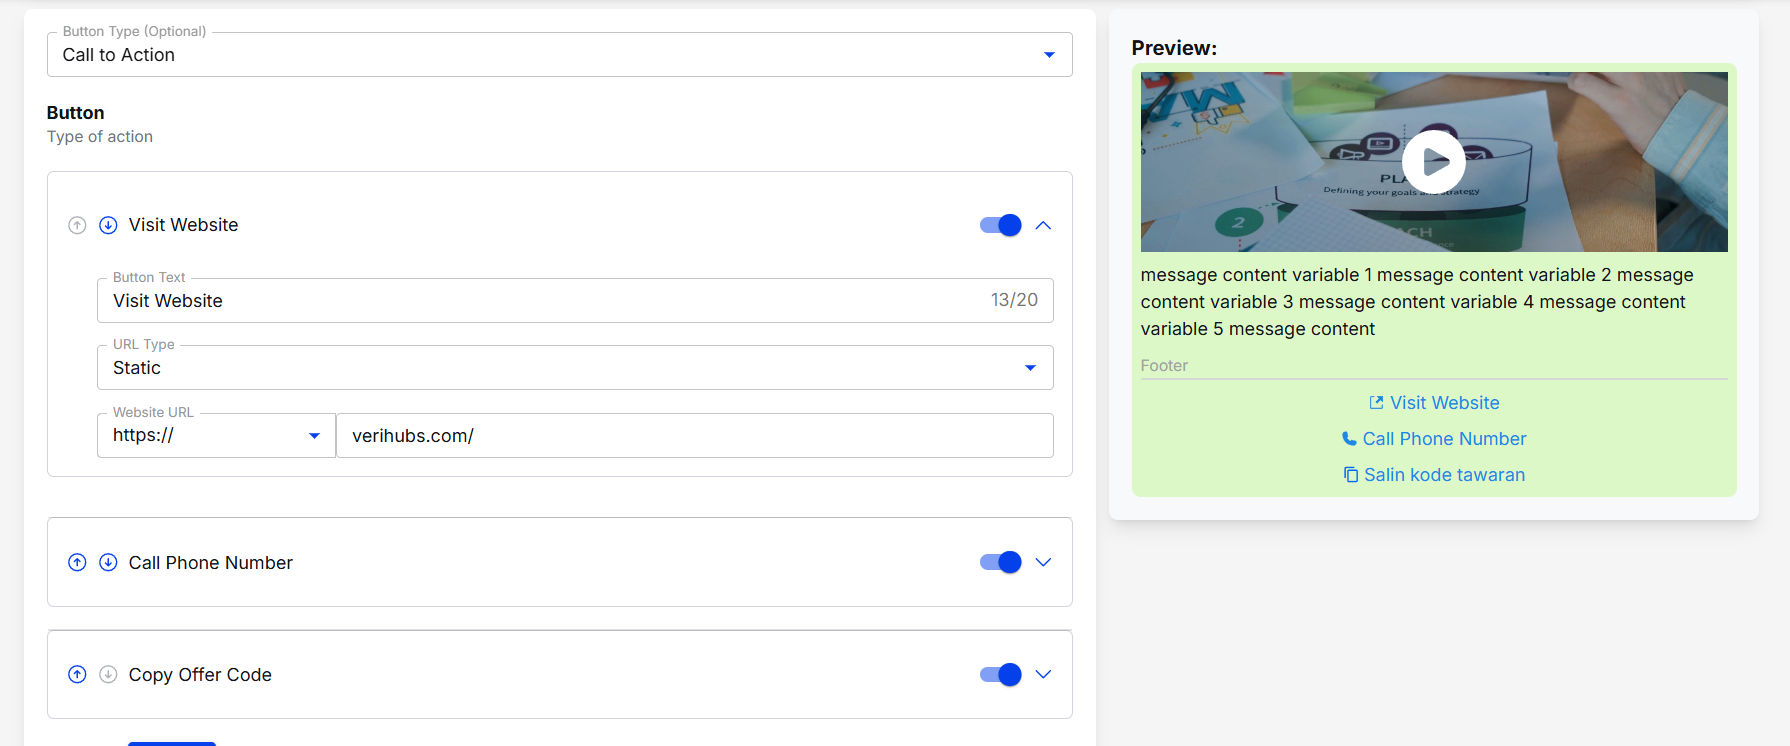
- In Step 5, you can choose what Button Type you want to display to the User, which can later become the User's interaction with your Message Template.
| Button Type | Description |
|---|---|
| None | Template has no Header |
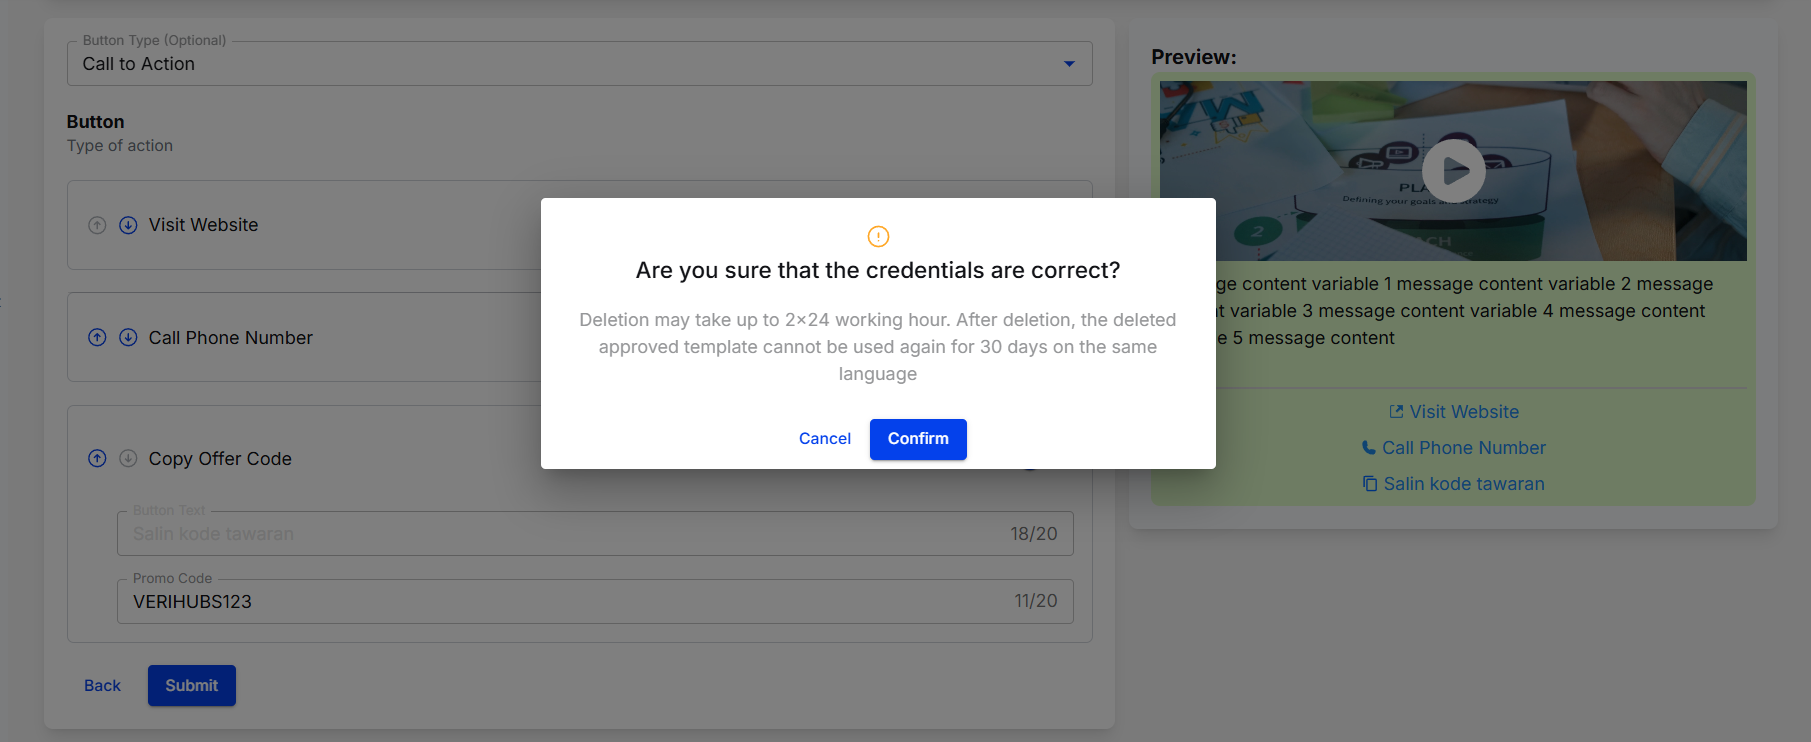
| Call to Action | Call to Action Button has two types, namely: 1. Visit Website If you choose Visit Website, you must enter:
The Phone Number entered must be valid, if invalid then validation will appear. The Phone Number supports all country based on list.
|
| Quick Reply | The Quick Reply button allows the template you create to have a maximum of five buttons that can be used by users to respond to the template message you send. |
Template Utility: Button Call to Action
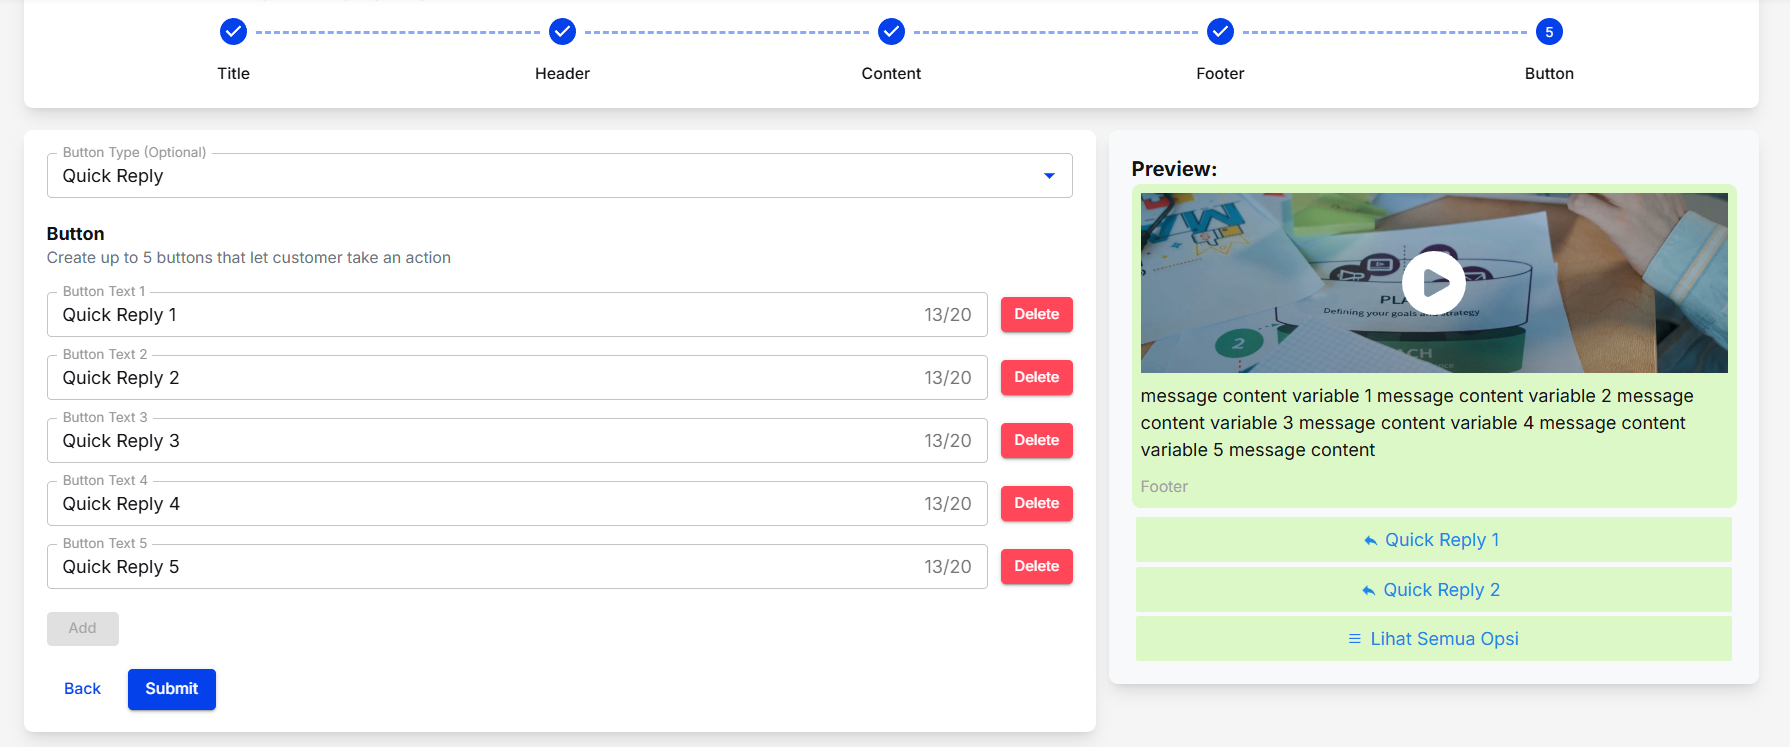
Template Utility: Button Quick Reply
- You can click Submit to review the template.
Template Utility: Submit
After you submit the template, it will take at least 1x24 hours to review it. But don't worry, if the template you created is in accordance with the applicable provisions, the review process will be faster. The results of this review process are as follows:
| STATUS | Description |
|---|---|
| PENDING | The template is submitted to Facebook and is still in process. The template will be reviewed in under 24 hours. |
| APPROVED | The template is approved by Facebook and ready to be used. |
| REJECTED | The template has been rejected by Facebook and will need change. You can contact our CS, to do the Template appeal process. |
Updated about 2 months ago